เว็บไซต์ JIB สำหรับการทดสอบ
ศูนย์รวมสินค้าไอที คอมประกอบ Notebook ผ่อน 0% ราคาดีที่ JIB


เว็บไซต์ JIB สำหรับการทดสอบ
ศูนย์รวมสินค้าไอที คอมประกอบ Notebook ผ่อน 0% ราคาดีที่ JIB


Brand: Gigabyte
Warranty 3 Years
Temporarily Out of Stock
Tap “Notify Me When in Stock” below and we'll tell you as soon as it's back in stock
Discount
1,000.-

Min. ฿30,000
Valid until 30 Nov 26
JIBSPS1000
Discount
500.-
Min. ฿20,000
Valid until 30 Nov 26
JIBSPS500
Discount
300.-
Min. ฿10,000
Valid until 30 Nov 26
JIBSPS300
Every Spec for This Product
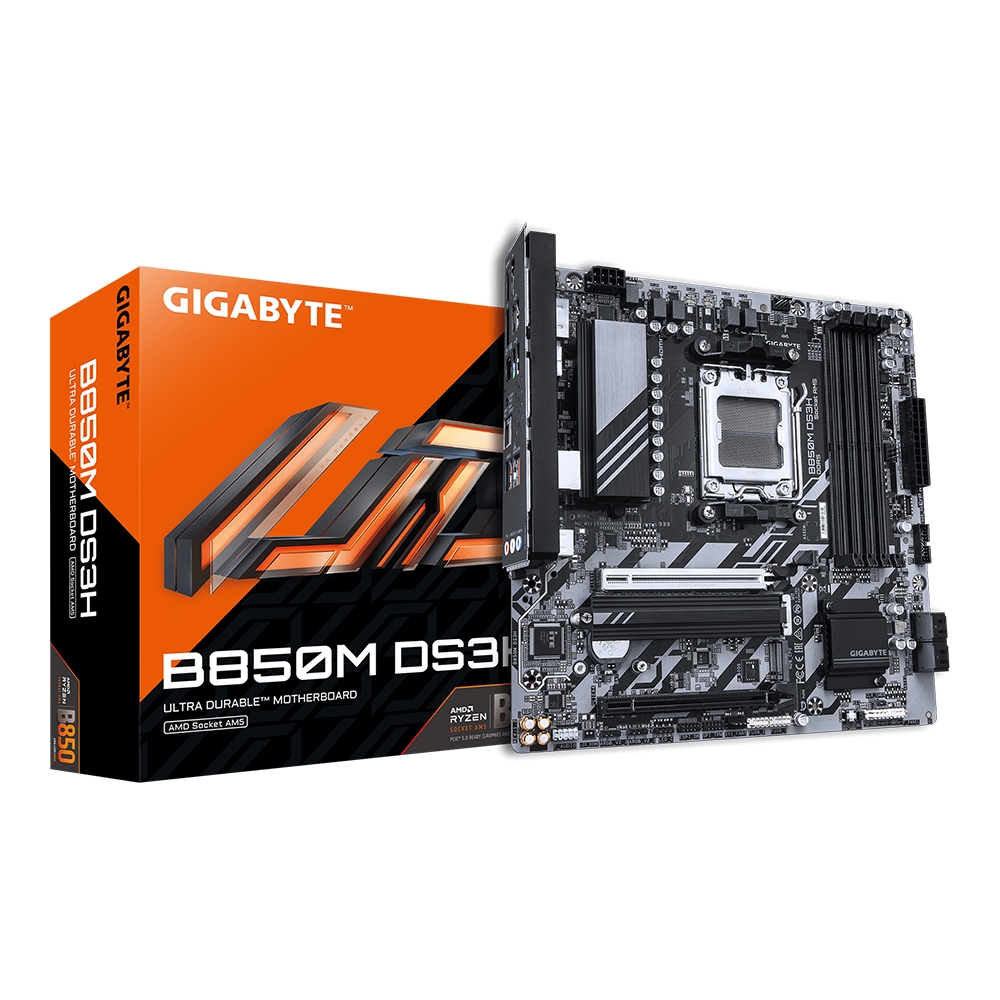
MAINBOARD (เมนบอร์ด) GIGABYTE B650M S2H DDR5 (REV1.2)
Overview, Highlight and How to Use It

Digital VRM Design
5+2+2 Phases Digital VRM Solution with Low RDS(on) MOSFETs

GbE LAN with Bandwidth Management
GbE LAN features a network bandwidth management application which helps to improve network latency and maintain low ping times to deliver better responsiveness in crowded LAN environments.

PCIe 4.0 Hardware Design
GIGABYTE B650 Motherboards are ready to work with the PCIe 4.0 devices which are expected to experience twice bandwidth than the current PCIe 3.0 devices. To reach the high speed and maintain good signal integrity, GIGABYTE R&D uses the low impedance PCB to provide the maximum performance.

Hi-Fi Audio
High-End Audio Capacitors
GIGABYTE motherboards use high-end audio capacitors. These high quality capacitors help deliver high resolution and high fidelity audio to provide the most realistic sound effects for gamers.
Audio Noise Guard
GIGABYTE motherboards feature an audio noise guard that essentially separates the board’s sensitive analog audio components from potential noise pollution at the PCB level.

Q-Flash Plus
Update the BIOS easily without installing the CPU, memory and graphics card. With GIGABYTE Q-Flash Plus, you don't need to install the CPU, memory and graphics card nor enter the BIOS menu to flash the BIOS. Just download and save a new BIOS file (rename to gigabyte.bin) on the USB flash drive, then press the dedicated Q-Flash Plus button and you’re good to go!
STEP 1: Plug 24pin & 8pin power supply cable on motherboard
STEP 2: Download motherboard BIOS file and rename to ""gigabyte.bin"", save to USB flashdrive, and plug USB flashdrive into Q-Flash USB port
STEP 3: Press Q-Flash Plus button, and motherboard will start updating BIOS automatically.
*รูปภาพทั้งหมดมีวัตถุประสงค์เพื่อเป็นภาพประกอบเท่านั้น / All images are for illustrative purposes only.
Source : Gigabyte B650M S2H (rev1.2)
All images are for illustrative purposes only.
The model you're viewing against close alternatives JIB picked